
Creating a mood board transforms abstract ideas into a tangible, communicative visual reference. For designers, marketers, content creators, and project managers, this process is not merely an aesthetic exercise; it is a critical step in aligning visions, defining project parameters, and ensuring consistent execution. A well-constructed mood board acts as a visual compass, guiding decisions from initial concept development through final production, minimizing misinterpretations and streamlining creative workflows. It provides a shared language for stakeholders, allowing everyone involved to grasp the intended aesthetic, emotional tone, and overall direction of a project before significant resources are committed.
Understanding the Strategic Value of a Mood Board
A mood board is a curated collection of images, textures, colors, typography, and descriptive keywords assembled to convey the overarching style, tone, and feeling of a project. It serves as a foundational visual brief, translating intangible concepts into a concrete representation. Its strategic value lies in its ability to:
- Clarify Vision: It forces a precise definition of the project's desired aesthetic and emotional impact, moving beyond verbal descriptions.
- Facilitate Communication: It provides a universal visual language, bridging gaps between different departments or client expectations and creative output. This is especially useful when stakeholders have varying technical or creative backgrounds.
- Ensure Consistency: By establishing a clear visual benchmark early on, it helps maintain coherence across all project elements, from branding to product design or campaign visuals.
- Accelerate Decision-Making: Visualizing concepts early allows for quicker feedback and iteration, reducing the time and cost associated with late-stage revisions.
- Inspire Creativity: It acts as a springboard for new ideas, helping teams explore different directions while staying within defined parameters.
Defining Your Project's Core Elements
Before collecting any visuals, articulate the fundamental aspects of your project. This initial phase is crucial for ensuring the mood board directly addresses the project's objectives and target audience.
Identify Key Project Attributes
Start by outlining the project's purpose, target demographic, and the core message or emotion it needs to convey. For example, a project for a luxury brand will require a different set of visual cues than one for an eco-friendly startup. Consider:
- Target Audience: Who are you trying to reach? What are their preferences, aspirations, and visual language?
- Core Message: What is the single most important idea or feeling the project should communicate? Is it innovation, comfort, excitement, reliability?
- Brand Identity (if applicable): What existing brand guidelines, values, or personality traits need to be reflected or evolved?
- Project Scope: What specific deliverables will this mood board inform (e.g., website design, product packaging, interior space)?
Translate Concepts into Keywords
Once you have a clear understanding of the project's attributes, translate these into a list of descriptive keywords. These words will guide your visual search. For instance, if the project aims for "minimalist elegance," keywords might include "clean lines," "neutral palette," "sophisticated textures," "uncluttered space." If the goal is "playful innovation," keywords could be "vibrant colors," "geometric shapes," "dynamic movement," "futuristic."
Sourcing and Selecting Visual Elements
With your keywords and project attributes defined, begin gathering materials that visually represent these concepts. The goal is not just to collect pretty pictures, but to find elements that evoke the desired feeling and communicate specific attributes.
Diverse Material Collection
Look for a wide range of materials. This includes:
- Images: Photography (landscapes, portraits, products), illustrations, graphic patterns. Focus on composition, lighting, and subject matter that aligns with your keywords.
- Colors: Swatches, palettes, or images dominated by specific hues. Consider their emotional associations and how they interact.
- Textures: Photos of fabrics, wood grains, metal finishes, or abstract textures that convey a tactile quality.
- Typography: Examples of fonts that express the desired tone (e.g., elegant serifs, modern sans-serifs, playful scripts).
- Objects/Shapes: Silhouettes, product forms, or architectural details that reinforce the aesthetic.
- Inspirational Quotes/Words: Short phrases or single words that capture the essence of the mood.
Best for: Visualizing abstract concepts, communicating emotional tone, and establishing a consistent aesthetic.
Curating for Cohesion and Impact
The selection process is more about curation than accumulation. Discard elements that, while visually appealing, do not directly contribute to the project's core message or create a cohesive feel. Each element should earn its place by reinforcing the overall mood.
Pro Tip: Avoid the trap of over-specificity too early. A mood board should evoke a feeling and direction, not dictate exact design solutions. Focus on emotional resonance and stylistic alignment rather than precise imagery that might limit creative exploration later.
Structuring Your Mood Board for Clarity
The arrangement of elements on your mood board significantly impacts its effectiveness. A well-organized board enhances clarity and makes the intended message immediately apparent.
Physical vs. Digital Approaches
Mood boards can be physical or digital, each offering distinct advantages:
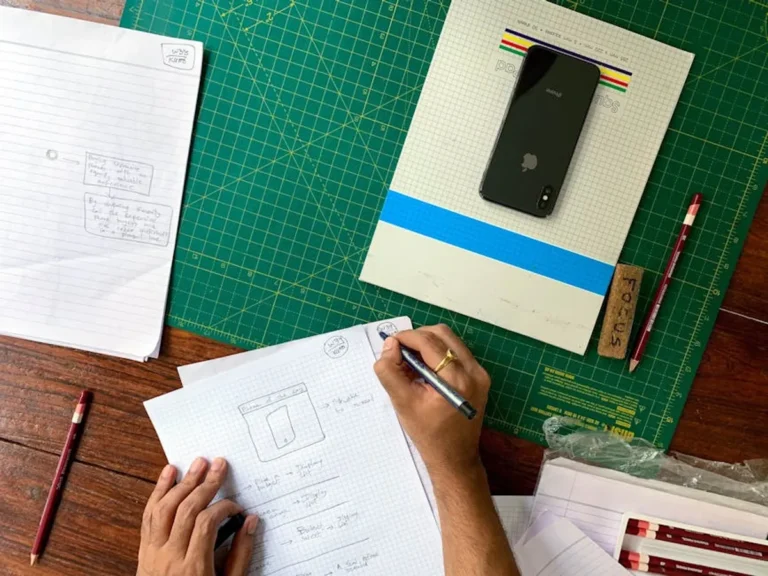
- Physical Boards: Tangible, allowing for tactile interaction with materials like fabric swatches or printed images. Excellent for collaborative, hands-on sessions. Requires space and physical materials.
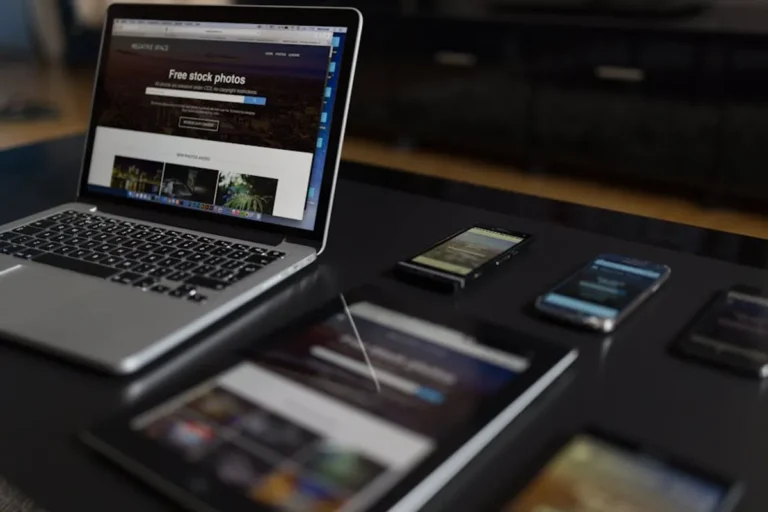
- Digital Boards: Highly flexible, easy to share, and allows for quick iteration. Software tools (even basic image editors) facilitate arrangement and annotation. Ideal for remote teams or projects requiring frequent updates.
Layout and Composition Principles
Regardless of format, apply basic design principles to your layout:
- Visual Hierarchy: Place dominant images or key color palettes centrally or give them more visual weight to draw the eye.
- Balance: Distribute elements evenly to create a harmonious composition. Avoid clustering too many similar items in one area.
- Flow: Arrange elements to guide the viewer's eye across the board, telling a visual story. Group related items (e.g., all typography samples, all texture swatches).
- Negative Space: Allow some breathing room between elements. An overly cluttered board can be overwhelming and dilute the message.
- Annotations: For digital boards, add short text labels or notes to explain the rationale behind certain choices or highlight specific attributes.
Refining and Presenting Your Mood Board
Once assembled, the mood board isn't static. It's a tool for discussion and refinement.
The Iterative Process
Review your mood board critically. Does it accurately reflect the project's goals? Is anything missing? Are there conflicting elements? Be prepared to remove, add, or rearrange items based on your own assessment and, crucially, feedback from stakeholders. The first iteration is rarely the final one.
Presenting for Feedback
When presenting your mood board, explain your rationale. Describe the mood you aimed to create, the story you want to tell, and how specific elements contribute to that narrative. Encourage open discussion. Ask targeted questions to illicit constructive feedback rather than subjective opinions. For example, instead of "Do you like it?", ask "Does this convey the sense of luxury we discussed?" or "Which elements best capture the innovative spirit of the product?"
Actionable Steps for Mood Board Creation
To effectively create a mood board that serves as a powerful project asset, follow these steps:
- Define the Objective: Clearly state the project's purpose, target audience, and desired emotional response.
- Brainstorm Keywords: Translate abstract ideas into concrete descriptive terms.
- Gather Inspiration: Collect a wide array of visual and textual elements from diverse sources.
- Curate and Select: Ruthlessly edit your collection, keeping only elements that directly support the defined mood and message.
- Arrange and Compose: Lay out your chosen elements with attention to hierarchy, balance, and flow. Add annotations if digital.
- Review and Refine: Critically evaluate the board for clarity, cohesion, and impact.
- Present and Discuss: Share the board with stakeholders, explaining your rationale and soliciting specific, actionable feedback.
Frequently Asked Questions About Mood Boards
How long should it take to create a mood board?
The time required varies based on project complexity and experience, but typically, a focused mood board can be conceptualized and assembled within a few hours to a full day. The initial definition and keyword generation phase often takes the most time, as it requires clear strategic thinking.
What tools are best for digital mood boards?
Simple image editing software, presentation programs, or even dedicated online collaboration platforms can be effective. The key is to use a tool that allows for easy image import, arrangement, and text annotation, and that facilitates sharing and feedback.
Should a mood board include text?
Yes, including keywords, short phrases, or even brief annotations can significantly enhance a mood board's communicative power. Text helps clarify the intent behind visual choices and provides context that pure imagery might not convey.
How many elements should be on a mood board?
There's no strict number, but aim for enough elements to convey the mood comprehensively without overwhelming the viewer. A typical board might feature 10-20 key images, color swatches, and typography examples. The focus should be on quality and relevance over quantity.